

 News
News 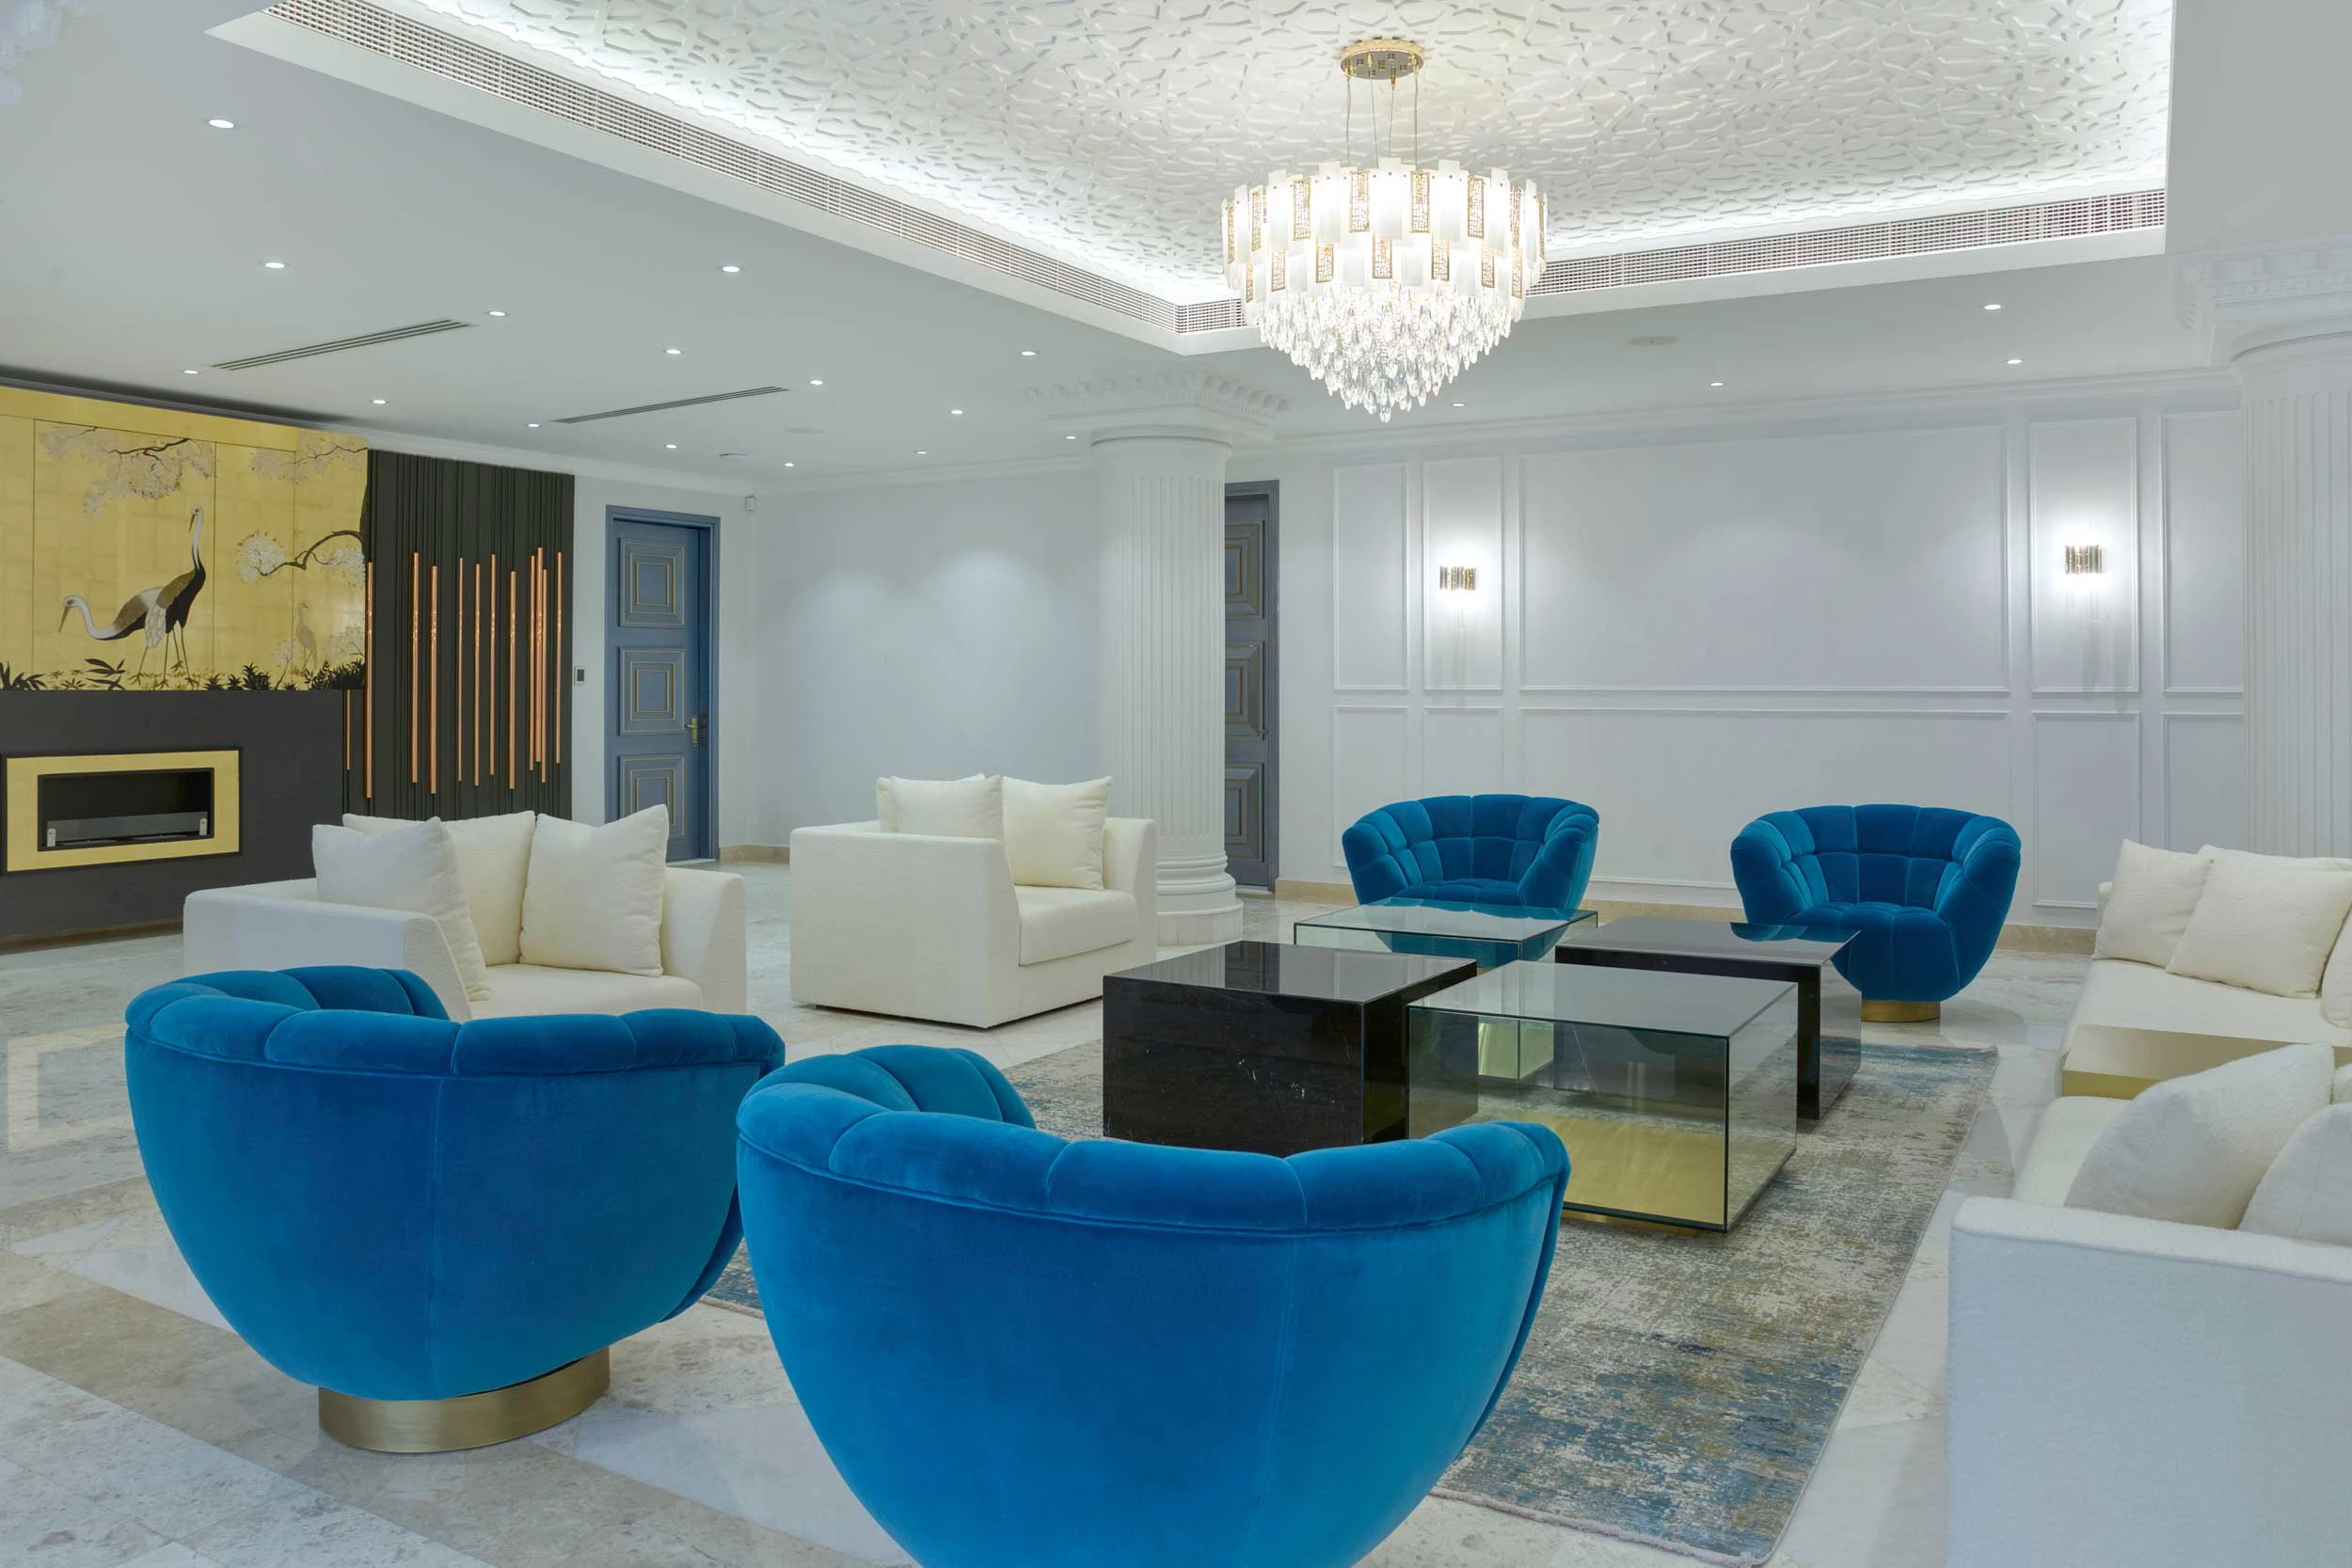
- By WalkThru Media
- 05 Aug, 2026
A photography preparation checklist matters because most of what separates a strong set of listing photographs from a mediocre one is decided before the photographer arrives. The camera records what is in the room. If the room is ready, the shoot is quick and the images are clean. If it is not, the session becomes tidying, and time spent moving a laundry basket is time not spent on the light.
The day before
Confirm access. This is the most common cause of a lost morning. If the property is in a managed building or a gated community, find out whether the photographer needs to be registered at security, whether a permit or an escort is required for common areas, and who to call when the access process does not work as described. If the property is tenanted, the tenant needs proper notice, and someone should confirm they will be out or comfortable with the shoot.
Check every bulb. Replace the ones that are out, and more importantly replace the ones that do not match. A room lit by two warm bulbs and one cool one photographs with a colour cast that cannot be fully corrected afterwards, because different parts of the same wall are being lit by different colours of light. Matching bulbs is the cheapest improvement available.
Every room
Clear the surfaces. Kitchen counters, bathroom vanities, bedside tables, dining tables and desks should be close to empty. A few deliberate objects are fine, an accumulation is not. The test is whether an item is there because it looks good or because it lives there.
Remove anything personal or identifying. Photographs of people, documents, post, prescriptions, certificates, children's schoolwork on the fridge. This matters for privacy as well as for the photographs, because listing images end up on public portals and are copied and reshared beyond your control.
Hide the cables. Chargers, extension leads and the tangle behind a television are more visually distracting than people expect, because the eye follows lines and a cable is a line pointing at nothing.
Empty the bins and take them out of frame. Move drying racks, laundry, pet bowls, litter trays and shoes out of the rooms being shot.
Room by room
In bedrooms, make the beds properly with clean, ironed linen and square the pillows. A made bed is the single largest block of colour in a bedroom photograph and creases show clearly.
In bathrooms, remove toiletries, toothbrushes and towels in use, and put out clean folded towels if you have them. Close the toilet lid. Clean the mirror and the glass, because both will show every mark under bracketed exposure.
In kitchens, clear the counters almost entirely, remove magnets and notes from the fridge, and put away the washing-up. In living rooms, straighten the cushions, square the rug to the room and set the furniture back to the arrangement that shows the most floor.
Windows, light and air
Clean the windows and the balcony glass. Dubai dust is the difference between a sharp skyline view and a hazy one, and no amount of editing recovers a view shot through a dirty pane.
Open the blinds and curtains fully. The view is part of what is being sold, and a bracketed exposure holds both the room and the window, so there is no reason to shut the outside out.
Set the air conditioning cool an hour or two before the shoot. This is a practical point rather than an aesthetic one: photography equipment and a warm apartment produce condensation on the lens, and a fogged lens costs time while it clears.
Outside
Move cars off the driveway and out of the frame for villa exteriors, including your own. Clear bins, hoses and children's toys from the approach. If there is a pool, run it and skim the surface. If there is a terrace or garden worth showing, water it the day before so it looks alive rather than tired.
What we bring to it
The morning of the shoot
An hour before, walk the property once with fresh eyes and look at it as a photograph rather than as a home. The things that stand out in that walk are the things that will stand out in the images.
Turn on every light that is staying on and check nothing has failed overnight. Open all the blinds. Set the air conditioning so the rooms are cool before the equipment arrives, because a warm apartment fogs a lens and that costs time while it clears.
Do a final sweep for the items that reappear: the phone charger left on a counter, the bin liner poking out, shoes by the door, a towel over a radiator, the dog bowl. These accumulate in the hours before a shoot no matter how carefully the property was prepared the day before.
What actually happens on the day
Expect the photographer to work room by room and to move small items within a room to compose a frame. That is normal and it is not a licence to leave the tidying to them, because time spent moving furniture is time not spent on the light.
Rooms photograph better without people in them, so plan to be in a different part of the property rather than following the camera. If the property is occupied and something cannot be moved, say so at the start rather than partway through.
If the property is empty
An unfurnished property is quicker to shoot and harder to make appealing, because there is nothing to give scale or warmth. Clean floors and clean glass matter more, not less, since there is nothing else to look at and every mark is visible. Make sure the electricity is on and every bulb works, which is the most common problem with vacant units, and check that the air conditioning is running so the rooms are not stifling.
Our real estate photography is bracketed and tripod-mounted, so bright windows and interior shadow both hold detail and the verticals stay straight. The preparation above is what lets that work show. We shoot across Dubai and Abu Dhabi, from Dubai Marina to Arabian Ranches, and deliver the finished set in 24 to 48 hours.